– 원하는 폴드를 프로젝트에 추가(복사)합니다. 저는 resource 그룹을 만들고 그 안에 넣었습니다
– 폰트를 클릭 후 Show the File inspector – Target Membership의 해당 프로젝트 이름을 체크합니다

– info.plist에 Fonts provided by application를 추가, 하위의 Item 0의 Value에 resource에 넣은 폰트 이름을 확장자까지 입력합니다(ex. right.ttf), 폰트가 여러개일 경우 +를 눌러 추가해 준다(ex. Item 1, Item 2…)

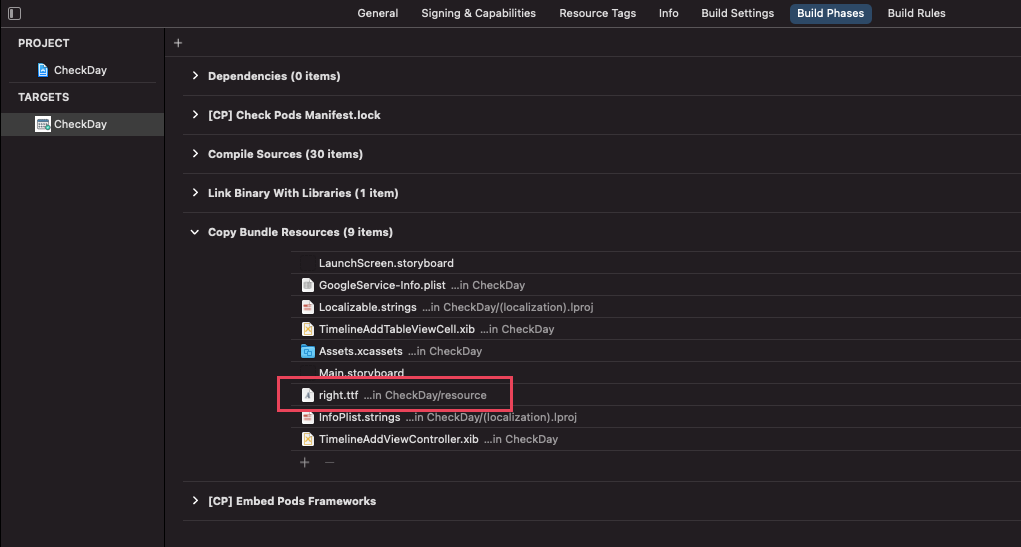
– 프로젝트를 클릭 TARGETS – Build Phases – Copy Bundle Resources에 폰트가 추가 됐는지 확인
– 스토리보드에서 변경 할려고 하는 라벨(뷰)을 선택 후 Show the Attributes inspector – Font에서 원하는 폰트를 설정합니다
